Managing Departments/Cost Centers
CDM admins can assign users to specific departments/cost centers to restrict their views to the specific information they have access rights to view. One or more departments/cost centers be assigned to individual users.
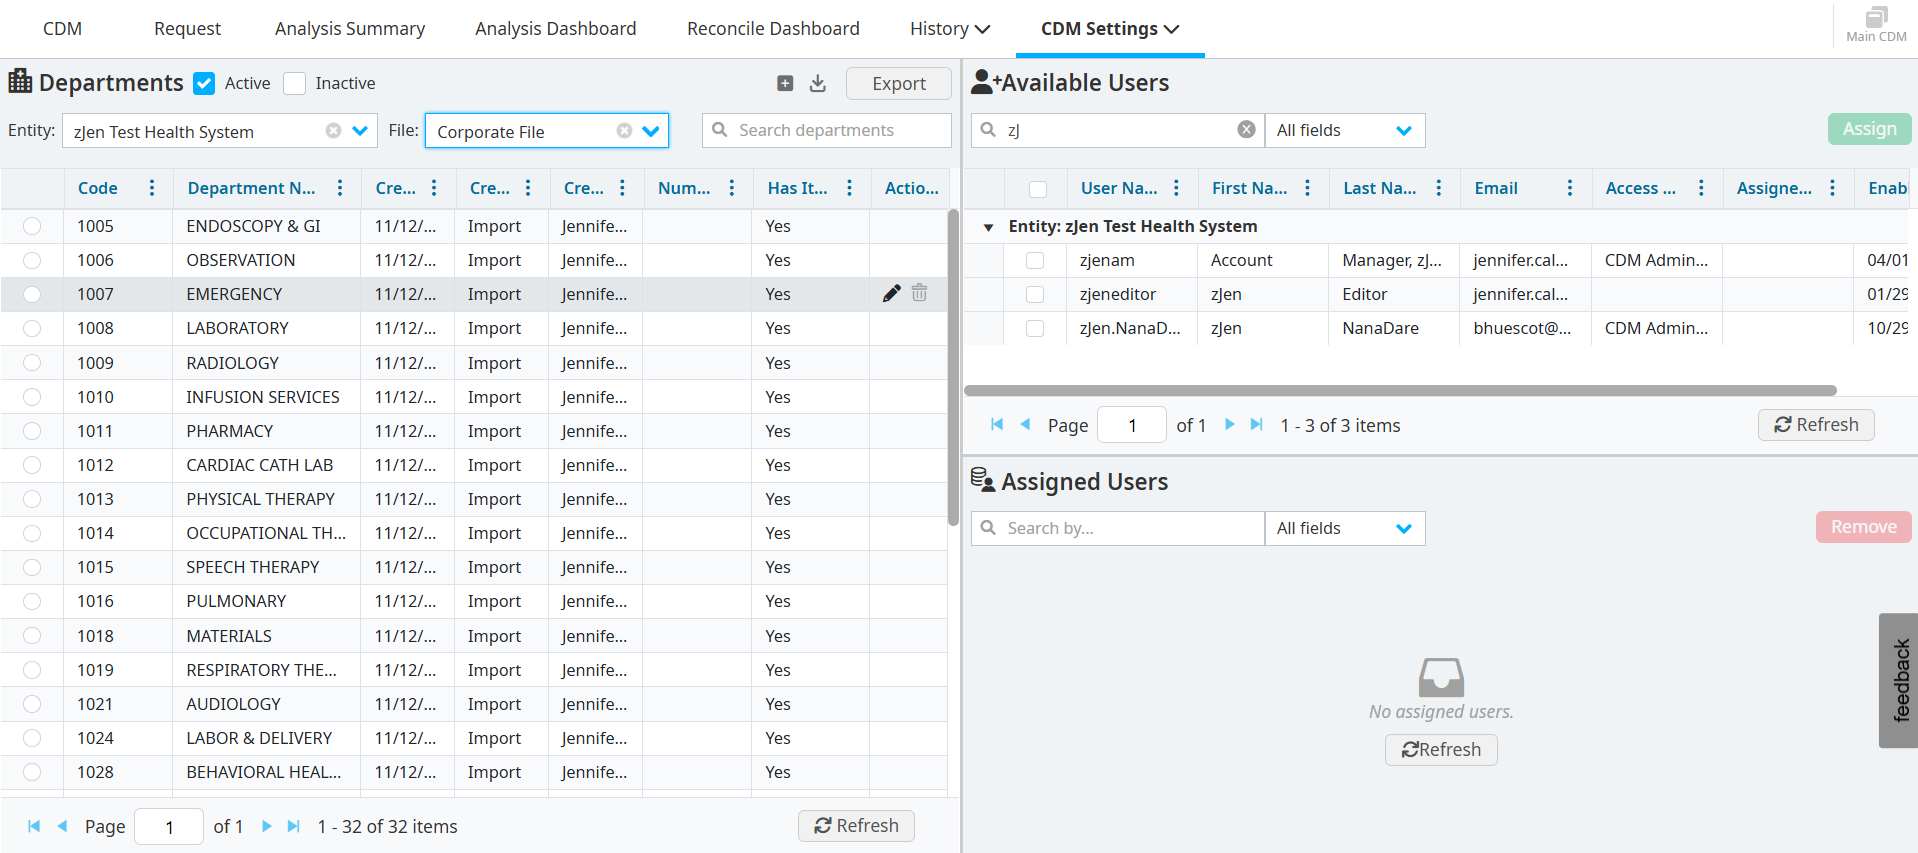
Viewing departments
Select CDM Settings > Manage Departments. The Departments window is expandable to full screen.
Select the Entity and the CDM File to view the department information included in the CDM file.
Enter information in the Search by field to find a specific department.
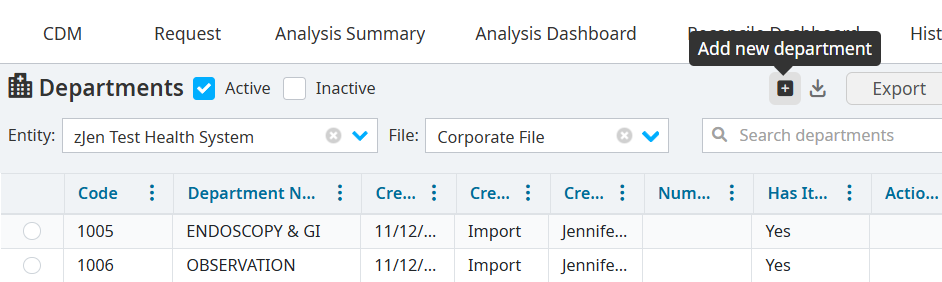
Adding departments
Click the Add new department icon.
Enter the new Department Code and Department Name.
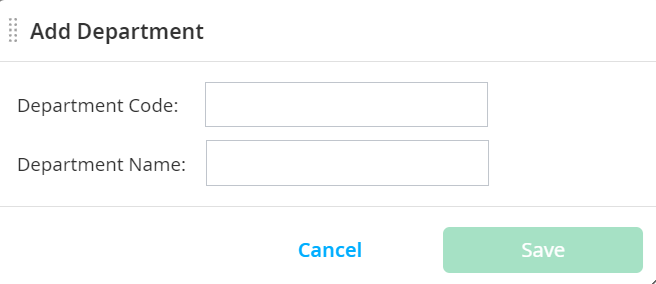
Click Save.
View the new department on the Departments pane, sorted in numerical order. Click the column header row to sort the table in alphabetical order, if needed.
Editing existing departments
Right-click the department you want to edit.
Select Edit Department.
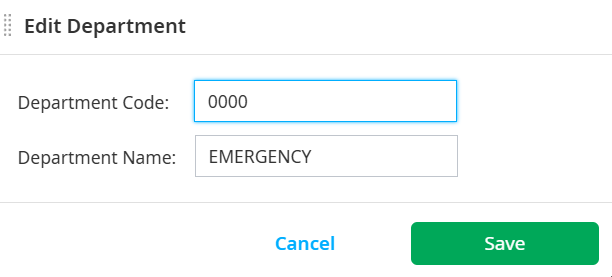
Change the Department Code and Department Name.
Click Save.
Importing or exporting departments
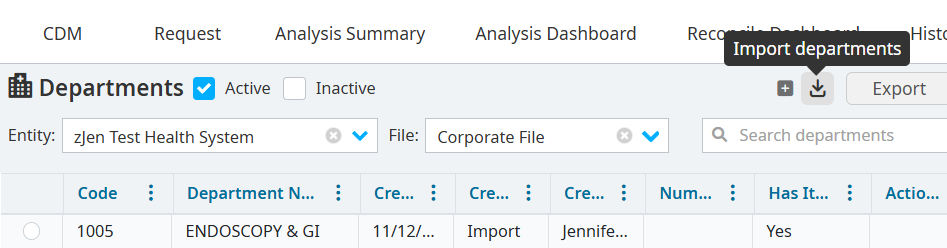
Export
Click the Export button in the header to export a template for new and updated department/cost center names. Templates can be exported to a .csv file format.
Import
To bring your edited file back into VitalCDM and apply new changes:
Click the Import departments icon.
Drag your file to the Choose File dialog, or click Browse Files to find your file.
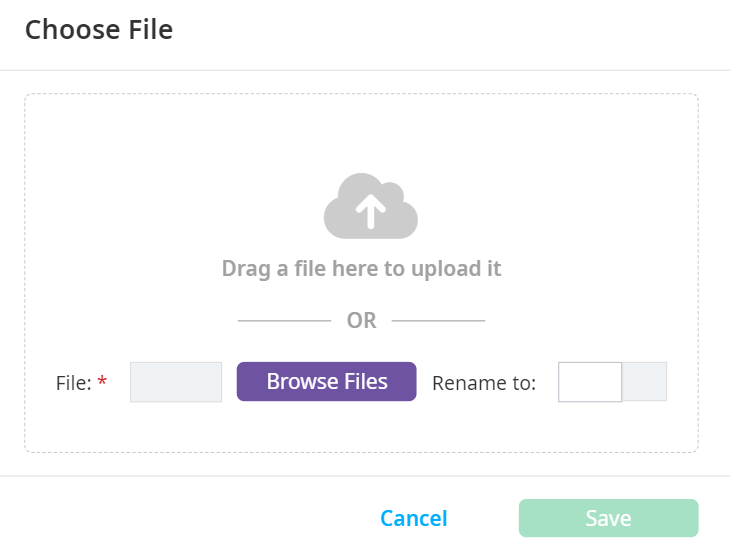
Rename your file, if needed.
Select Save.