Managing Routes
Select Workflow Settings from the CDM Settings dropdown to manage routes.
Creating new routes
Select the Entity and CDM File.
Click New Route.
Verify that the correct Entity and CDM file are listed.
Select a new file by using the dropdown menu available for each field, if necessary.
Enter a name for the new route in the Route Name field.
Click Save to save the new route and return to Workflow Settings.
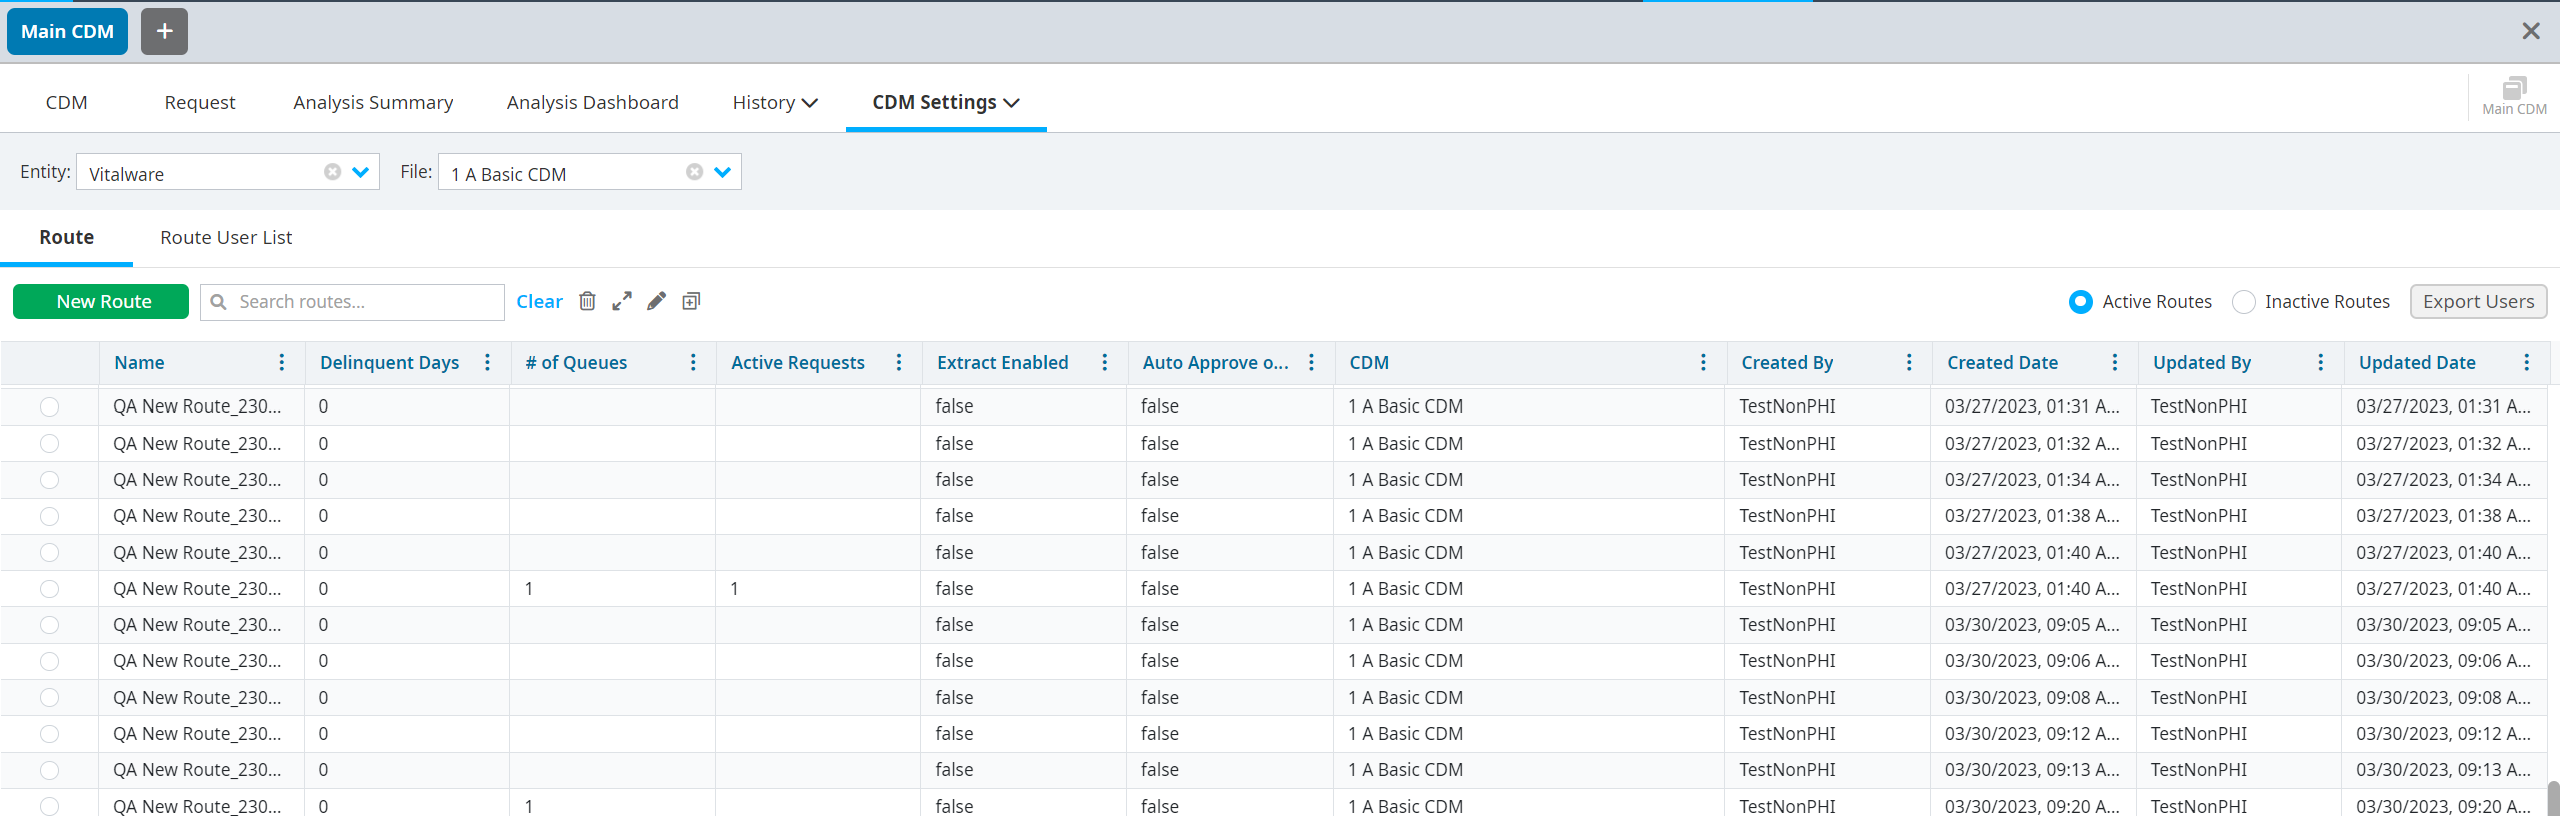
Sorting and viewing options on the Route table
You have the option to sort and modify the columns on the Route table by doing the following:
Reorder columns by selecting a column header and dragging it to the appropriate location on the column header row. Arrows indicate the new location. Release the selection to move the column.
Click the three-dots icon to sort the columns in ascending or descending order. You can also click the column header once for ascending order or click the column header twice for descending order.
Click the three-dots, then select Columns to display a dropdown selection of additional sorting options. Column options that are selected are displayed on the Route table. To modify the displayed columns, select or deselect as desired.
Managing the basic information of routes
Right-click on a route on the table.
Select Manage Basic Info.
Edit the route name or add the number of delinquent days on the Edit Route popup, if needed.
Select Save.
Copying a route
Right-click on a route on the table.
Select Copy Route.
Enter a new name in the Name field.
Select Copy.
Inactivating a Route
Right-click on a route on the table.
Select Inactivate Route.