Request Forms
In the Request table, double-click a request to open the Request Form.
A
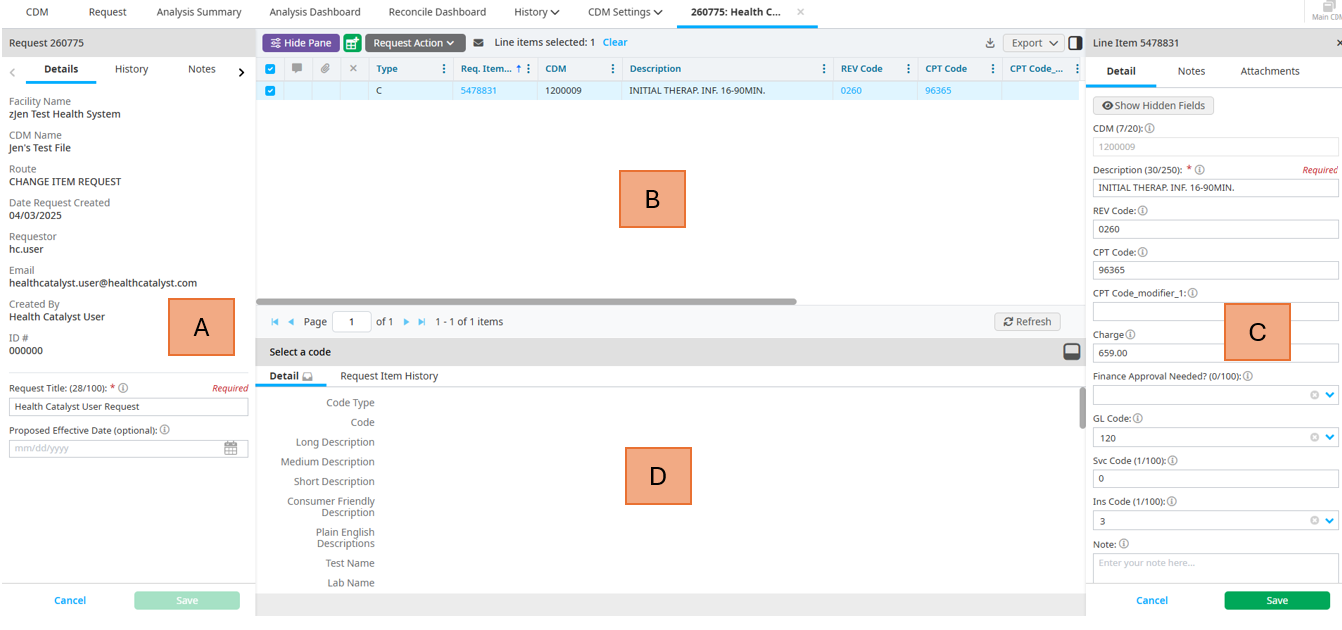
- Details Tab - Includes general information about the request, including Facility and CDM name, the route the request was submitted in, date created, requestor, request ID #, request title, and proposed effective date.
- History Tab - Includes a history of changes to the request.
- Notes Tab - Includes notes added to the request by any CDM user.
- Attachments Tab - Includes attachments added to the request by any CDM user.
B
This table shows line items in the current request. In this section, you can select line items, add new line items, perform actions on the request, notify others of the request, or export the request.
C
Detail Tab - Includes information about the selected line item(s). If multiple line items are selected, this tab shows a message stating this, along with a button allowing you to edit the details on multiple items.
Notes Tab - Includes notes added to this line item by any CDM user. If multiple line items are selected, this tab shows a message stating this, along with a button allowing you to add a note to multiple items.
Attachments Tab - Includes attachments added to this line item by any CDM user. If multiple line items are selected, this tab shows a message stating this, along with a button allowing you to add an attachment to multiple items.
D
This is the Code Detail pane. This pane includes information based on the item you have selected in the table (B). If you click on a line item, you can see the history for that item. If you select a code, then the code details for that code display.
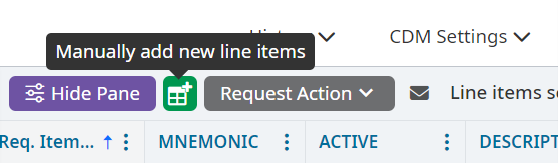
Adding new line items
To add a new line item to the request, do the following:
Click the Manually add new line items button.
Enter the information for the new line item on the Add New Items pane.
Click Create.
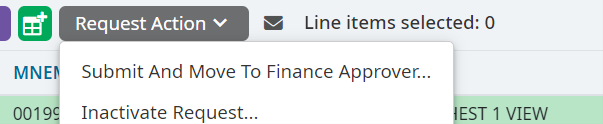
Performing actions on a request
You can submit and move a request to the next queue or mark a request as inactive. To do either of these, select the Request Action dropdown.
Notifying others about a request
Everyone assigned to a work queue is automatically notified when an action is performed on a request in that queue. To notify additional people:
Click the Notify others of this request icon.

Click Add Emails on the Request Notification List popup.
Do one of the following:
Select Manually Enter Emails then enter individual email addresses using semicolons, commas, or line breaks to separate them.
Select Choose an Email from the System then search for the email addresses you want to add. You can search by email address, first name, last name, or username.
Click Add.
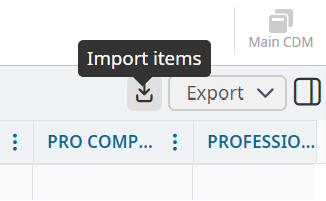
Importing line items
Note
A maximum of 30,000 items can be imported.
The import options allow you to import additions or updates using a template .csv (comma separated value) file.
- Adds are verified to determine if the items do not already exist to prevent duplicates.
- Updates on existing items are located and updated.
To import items, do the following:
Click the Import Items icon.
Select whether you are adding new items or updating existing items on the Import Items popup.
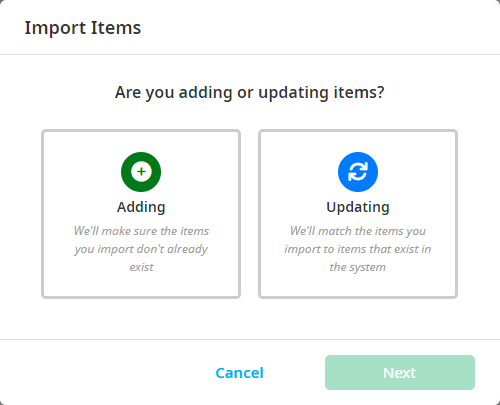
Click Next.
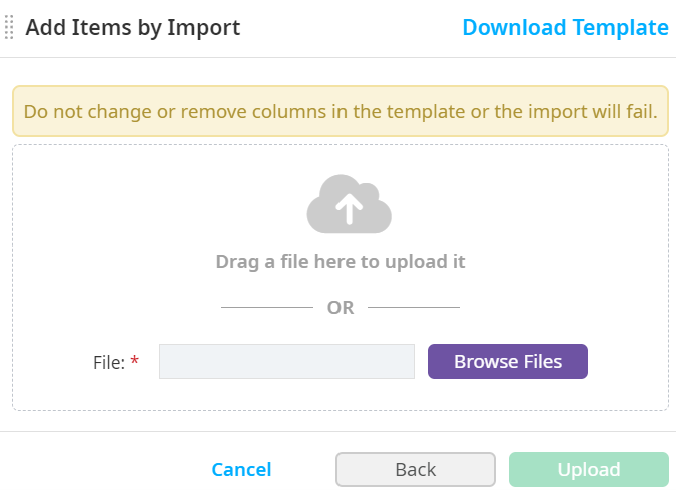
Click Download Template to download a template with the correct columns for import.
Important
Do not change or remove columns in the template or the import will fail. If you need to change a field to be blank, enter (BLANK) with parentheses for that field on the import file.
Click OK on the message stating that you must not change or remove the columns in the first row.
Click Browse Files then select your files after you have prepared your import file.
Exporting request information
You can export the details of your request as an editable or read-only .CSV file. To do so:
Select the Export dropdown button.
Select either Request Detail, Read-Only File, or Export Items for Export.
View your email with the link to the exported file.