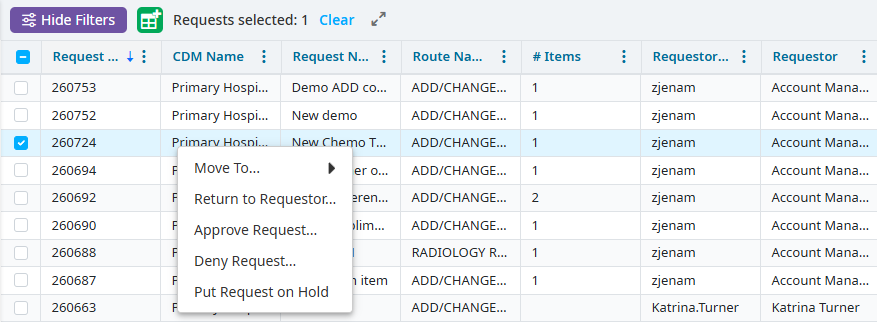
Request Tab
The Request tab is where you can view and access requests to perform workflow steps. This tab includes a request Filters pane on the left, a Request table in the center, and an Edit pane to the right. Click the Request tab to open the Request table.
Filters pane
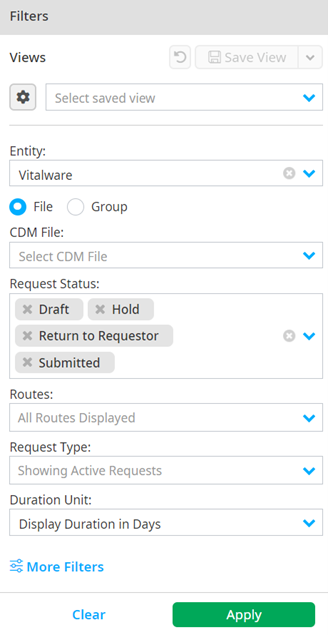
Select an Entity.
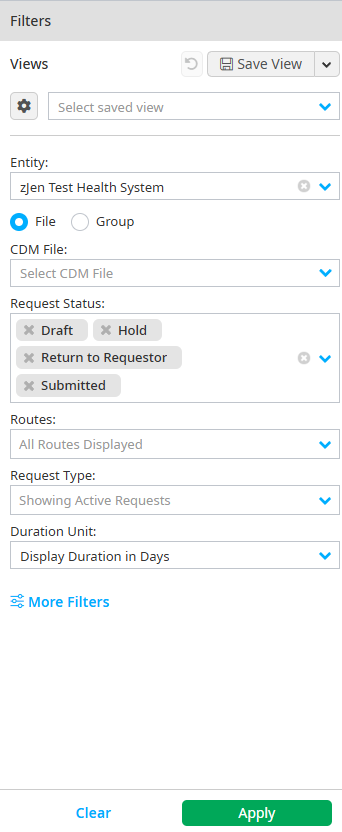
Select whether to filter by Group or File. Use this to view requests for all grouped files at once if you have multiple CDM files grouped together. There is an option to view all CDM files in the group. You can also restrict the CDMs in the group to show only those you want to view, if the Group view is selected.
Select the File. This option is not visible if Group is selected.
Note
Requests in Draft, Hold, Return to Requestor, and Submitted states are displayed by default.
Add additional states, if needed. See Adding additional states for more information.
Select a Route if you want to limit search results to specific routes. All routes assigned to you become the default output if the route is left blank.
View archived or inactive requests. Active requests are displayed by default.
Click Apply once you have entered all of your criteria.
Adding additional states
Click the X next to a status in the search box to remove it.
Select the dropdown menu in the field.
Select additional states to add additional states. Additional selections are visible in the search field.
Refining your search
Follow the steps in the previous section and do the following steps if you need to do a refined search:
Click More Filters on the Filters pane.
Select whether you want to filter by Request Manager Fields or CDM Fields. You are required to select a CDM file before you can filter by CDM fields.
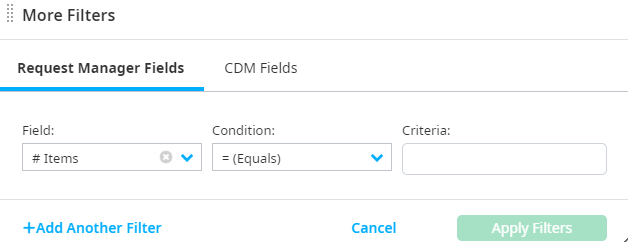
Select a Field and Condition.
Enter your Criteria.
Click Add Another Filter to further refine your search or click the Delete button to remove a filter.

Click the Close button to close the More Filters popup once you have applied all of your filters.
Click Apply on the Filters pane once you have entered all of your criteria.
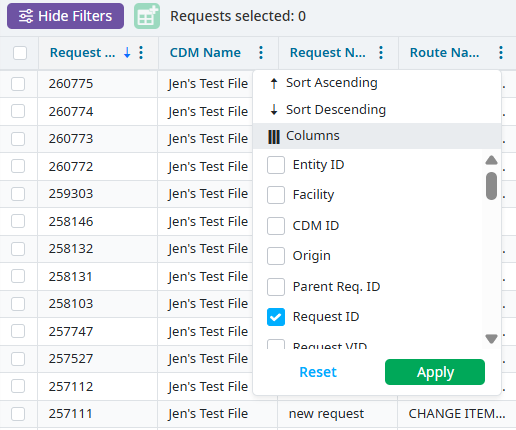
Customizing the Request table
Sorting columns in ascending or descending order
The arrow next to the title of the column shows how the column is sorted and in which direction. To change it:
- Click the column header once to sort a column in ascending order.
- Click the column a second time to sort a column in descending order.
Adding columns
Hover over a column header arrow.
Click Column.
Select the columns you want to add to the view.
Reordering columns
You can reposition a column by dragging it to the a location. Arrows between columns indicate where you can drop a column.