Request Table Options
Additional options in the Request tab are located above the results.

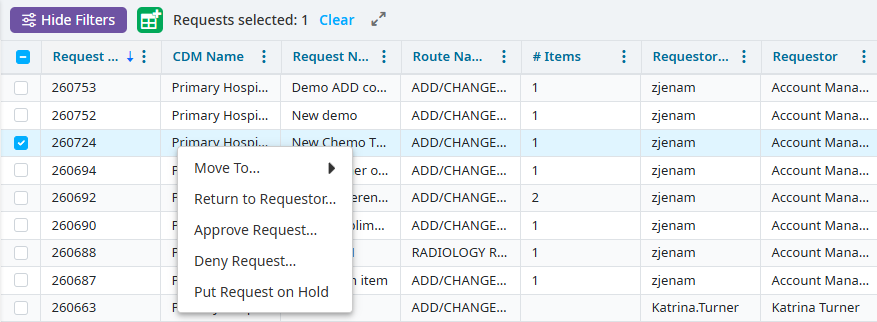
Right-click options
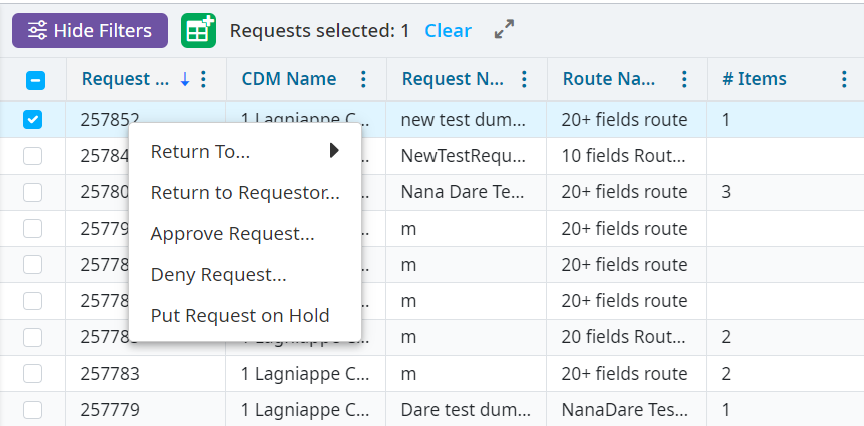
Right-click options vary and are based on the current state of the request in addition to your specific user settings and permissions. Action options include the following:
Submit and Move ... - Right-click on a request currently in the draft state to submit a request and move it to another queue. The next queue is selected automatically if you do not have permission to skip queues. A verification popup window prompts you to add additional email addresses to send notifications that are sent when the request is submitted, once selected. Email notifications are sent to the people assigned to the next work queue.
Delete Request - Select Delete Request and confirm your deletion on the popup that generates afterward. This option is only available for a request currently in the draft state.
Move to … - Move the request forward to the next work queue by right-clicking on a request currently in the submitted stage. Email notifications are sent to the people assigned that work queue.
Return To … - Return the request to any of the previous stages if the request is beyond the first work queue in the route. Hovering over Return To opens the available work queues for the request to return to.
Return to Requestor - Return the request to the original requestor. An email notification is sent if the selected request is in a submitted state.
Approve Request - Select Approve Request to enable updates to a CDM file as listed in the selected request. An alert is sent to you if any required key fields are missing. An email notification is sent to the original requestor when this action is completed.
Deny Request - Select this option to end the request process for the selected request and items contained within it. Requested edits are not made to the chargemaster. An email notification is sent to the original requestor when this action is completed.
Put Request on Hold - Select this option to remove the request from the active Submitted state to a Hold state. All request history is saved and the request can be resumed at a later time. An email notification is sent to the original requestor when this action is completed.
Archive Request - Use the archived state to prevent searching for and discovering the request that has Approved or Denied filter options set within the Filters pane. Approved or denied requests can be archived.
Resume Request Processing - Resume processing a request placed on hold. Requests placed on hold must resume processing before the request can be moved or finalized.
Print Request PDF - View, save or print a request in Adobe Acrobat PDF file format. Exported information includes request details, route, and change history.
Export Request - Open the export request in Excel, which includes the request details, change history, and field information.
Changing Views
Toggle between the Table or Detail view depending on the level of detail needed.The Table view is the default.
Table - Each request is visible in one row and allows you to view general details about the request, including the request title, requestor, current work queue and state, and duration information.
Detail - This view is essentially the simple view plus details for each line item included within the request.
Note
You can select Expand All or Collapse All in the upper right corner of the Detail view.
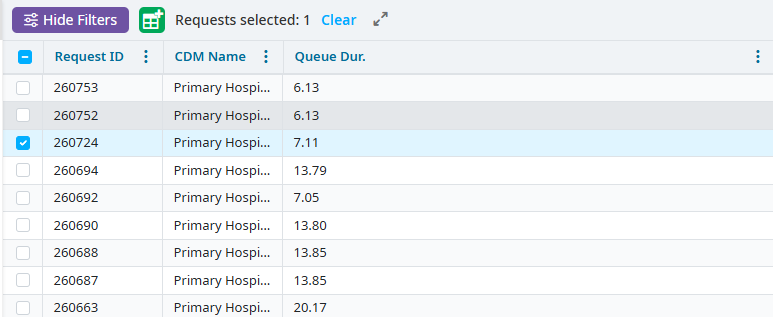
The Total Duration column displays a running total of the time the request has been in all queues.
The Queue Duration column displays how long the request spent in each individual queue. In the example below, the request was in the Draft queue for 3.00 days, the CDM Coordinator Sign Off queue for 1.93 days, and the Compliance queue for 3.13 days.
Export
Note
Due to Microsoft Excel limitations, exports with more than one million line items are truncated. You receive a warning if your export exceeds this limit. You can use filters to reduce the size of your export.
To export your table results:
Click Export in the header.
Choose the file format type you want to export to. The default file format type is .csv (common separated value). Click the space to the left of the format type to select a different file format.
Select Export. An email with a link to the exported file is sent to you shortly after you export. When you receive a request notification email, the following can be seen under the request title:

Click the link to receive a second email with the request export attached as an Excel file. This means that if you have added a non-Vitalware user's email address as a notification recipient, that user is able to access the Excel file as well Alternatively, you can forward the email with the Excel file to any non-Vitalware user who may need it.